
How I Use Figma MCP to Go From Design to Code
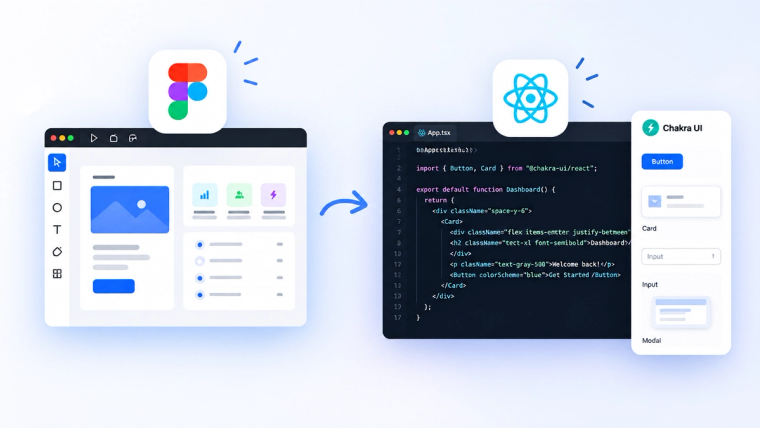
Figma MCP connects Figma directly to an AI coding tool like Claude Code. It lets the AI read a design and generate matching code. This article walks through how I use it, from setup to a working component.
This portfolio was also made using Figma MCP. 🎨
Problem Statement
Turning a Figma design into code usually means manual work. A developer inspects the design, checks spacing and colors, then writes the markup by hand. This takes time and often drifts from the original design. Small details get missed or approximated.
What You Need
- A Figma file with the design you want to build
- A running project on your machine
- Claude Code installed
Setup
Step 1: Install the Figma plugin for Claude Code. Open your terminal and run:
claude plugin install figma@claude-plugins-official
Press Enter to start the install.
Step 2: Restart Claude Code. If Claude Code was already running, restart it so the new plugin loads.
Step 3: Open the plugin marketplace and authorize Figma. Type /plugin and press Enter. Use the right arrow key to move to the Installed tab. Use the arrow keys to select the figma server and press Enter to start authorization. Press Enter again to open the authentication page in your browser, then click Allow access.
Step 4: Confirm the connection. Back in the terminal, type /plugin again. Under the Installed tab, the figma server should now show as connected.
That's the full setup. No local server address to manage, and nothing to configure by hand beyond that.
Workflow
Once setup is done, the day-to-day flow is simple.
- Open your Figma file and select the component or frame you want to build.
- Copy the link to that frame or layer in Figma.
- In Claude Code, prompt it to implement the design at that link. For example: "Implement this Figma design: [link]."
- Claude Code reads the design data through the MCP connection and starts generating the code.
The result is code that follows the actual design, not a rough guess at it.
Why It Helps
This workflow cuts out the manual translation step between design and code. Spacing, colors, and structure come directly from Figma, so the output stays close to what the designer intended. It also saves time on repetitive UI work, leaving more room for the parts of a project that need real problem-solving.